Once you set your wedding date and got a handle on who you want to invite, I’d say the most exciting moments of planning your big day is choosing your invitations. This piece of mail is something that all of your guests will see! It describes you, your fiancé, your personality, and what they can look forward to in regards to your day. So don’t be afraid to get creative with it! One of our favorite ways to get creative is by utilizing Minted. This online shop allows you to create fully customizable wedding invitations, suites, and other wedding papers you might need. They even provide you with a free wedding website that matches your invitations completely. We thought we’d just share a quick tutorial with you on how this process works.
Step 1:
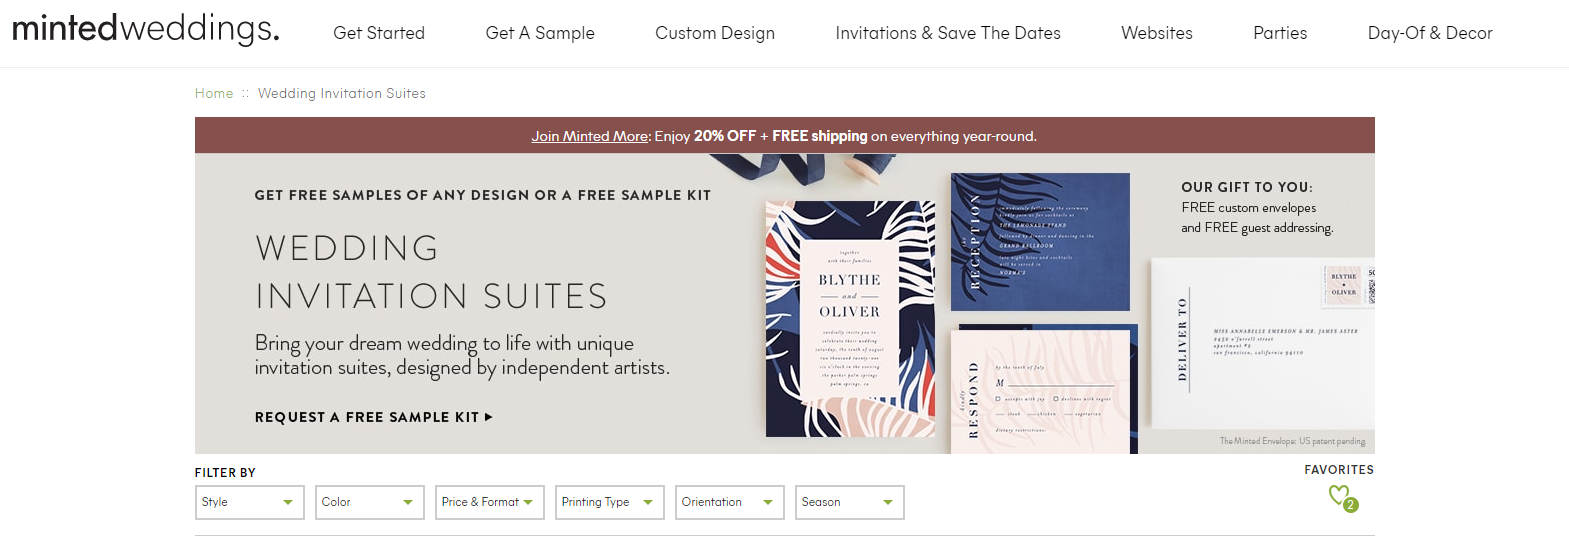
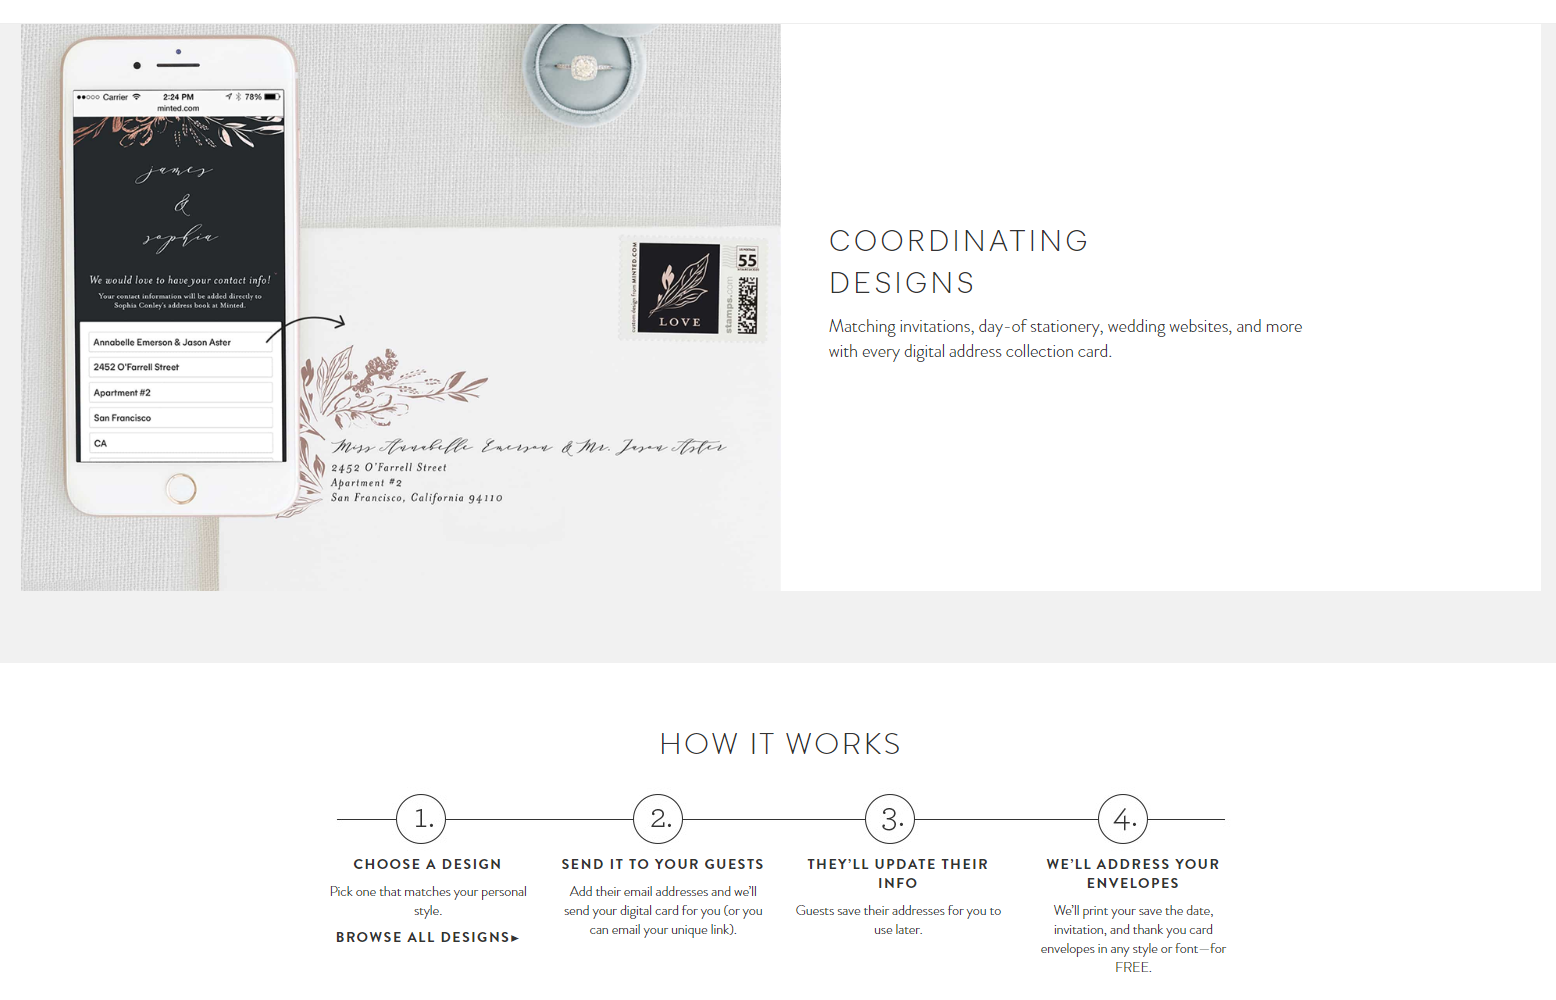
While Minted offers a multitude of customizable paper goods for all kinds of events, you’re going to narrow down what you want to invest in for your wedding. Consider whether you want invitations and save the dates. Or perhaps you want to add in some RSVP cards and reception details? You might even decide investing in a full suite is best for you. Whatever it is, Minted has you covered!
Step 2:
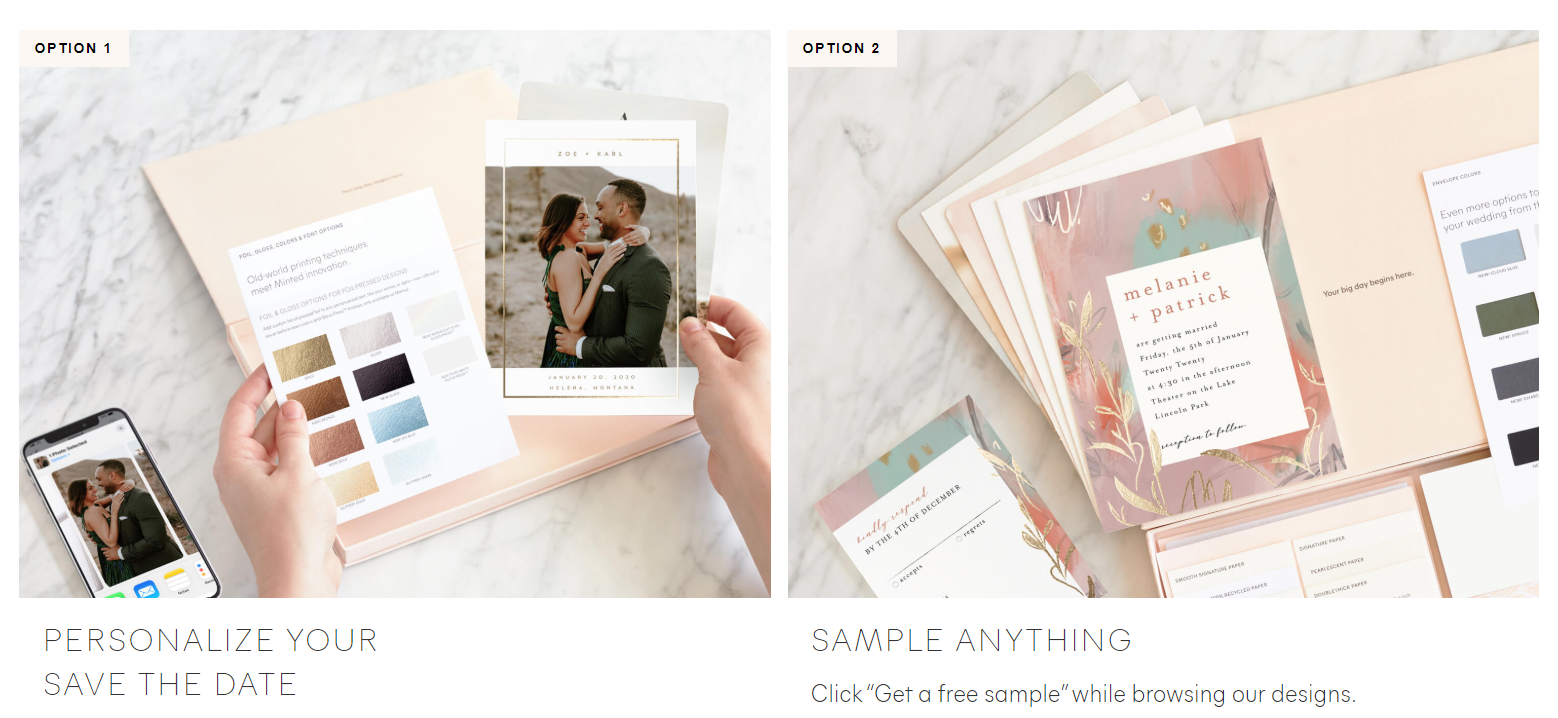
Next is the fun part: deciding on your design! Minted allows you to browse their designs by color, theme, trends, or patterns. They have plenty of inspiration to get you started. Or, if you have your own design in mind, Minted will allow you to use their artists to design something totally custom and totally you. Some couples have even added a watercolor painting or silhouette of their venue onto their design! And of course you can add in your very own engagement pictures.
Step 3:
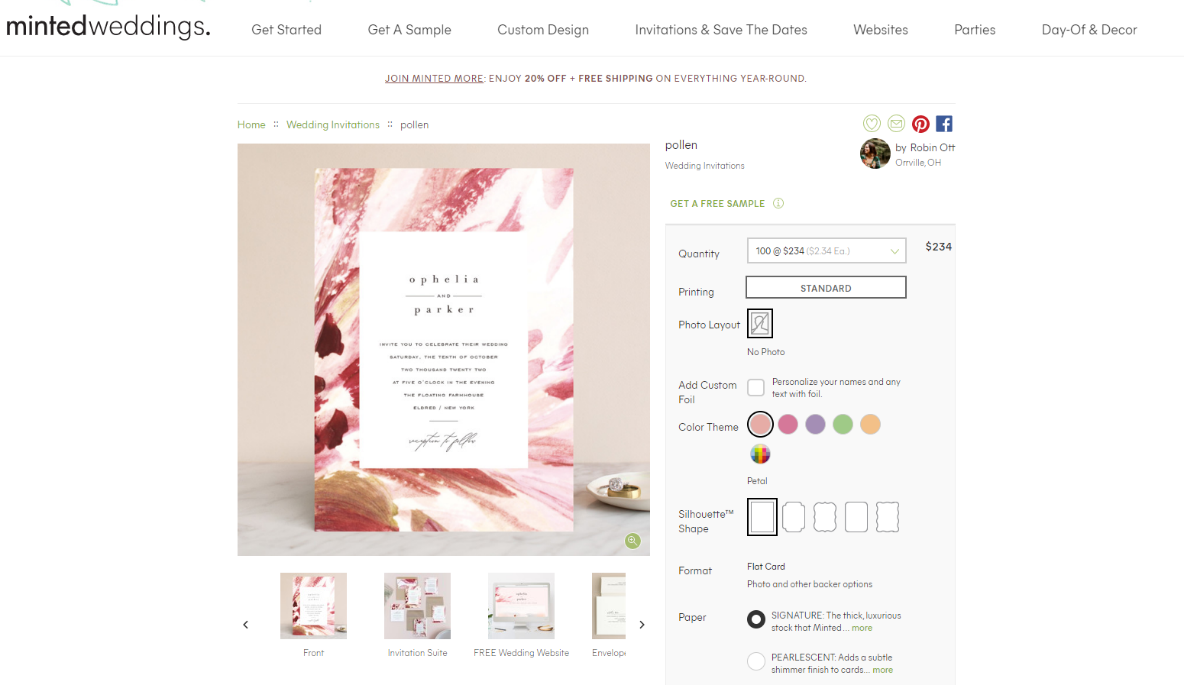
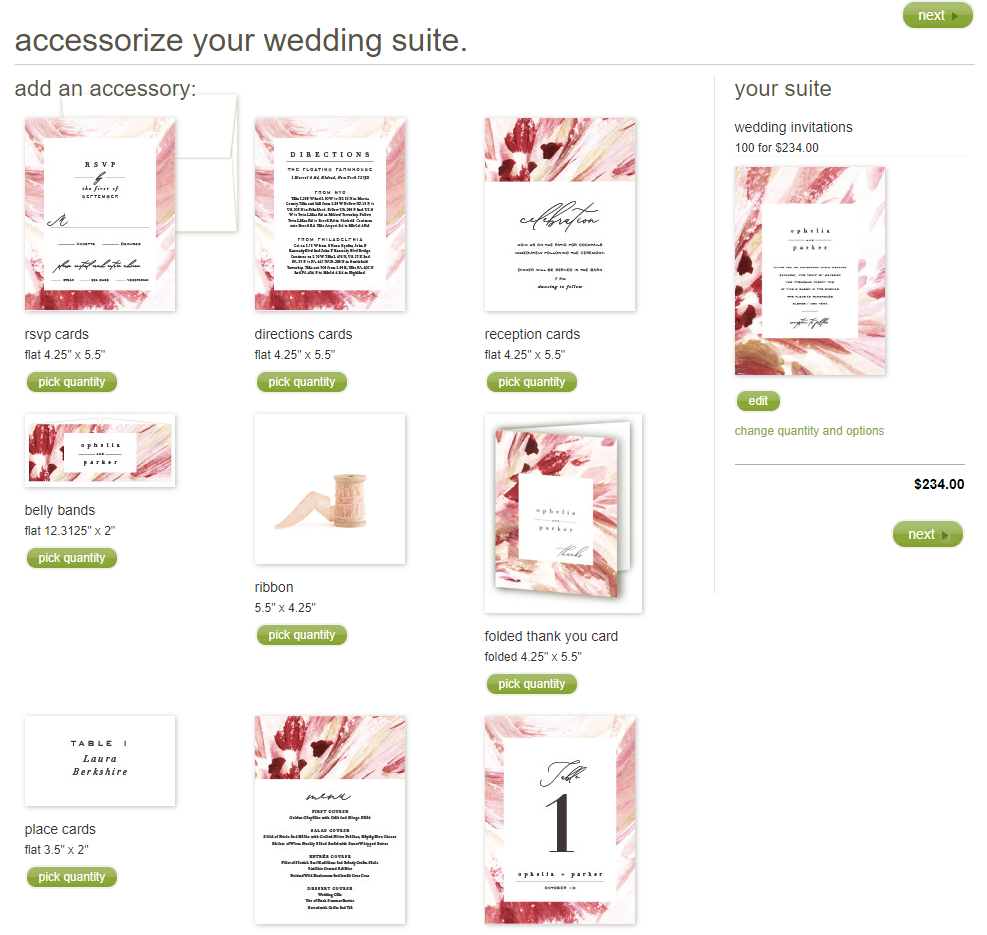
Once you’ve selected a design you feel great about, you can then make those fine-tuning adjustments. You can select different colors, fonts, and wording. Minted even has an advice section on their site to help brides determine proper invitation etiquette. In this step you will also select if you want custom envelopes, belly bands, stamps, vellum overlays or other extras. If you’re unsure of how much this will all cost you, they have a simple calculator on the right side of the screen to help you determine what you want to invest in.
Step 4:
We think this next step is pretty cool because now you get to order free samples! Yep, free! Minted will send you your invitation in the mail so you can see it up close, feel it in your hands, and decide what further edits need to be made. This takes the worry out of ordering over a hundred custom invitations!
Step 5:
Alright you got your free sample, you love how it looks, and now it’s time to finalize your guest list. Go back to your profile and saved design. Enter in all of the guests and their addresses into their address book feature. And guess what? Minted gives you free recipient addressing on all your envelopes! Now your invitations are looking fab and ready to send!
Step 6:
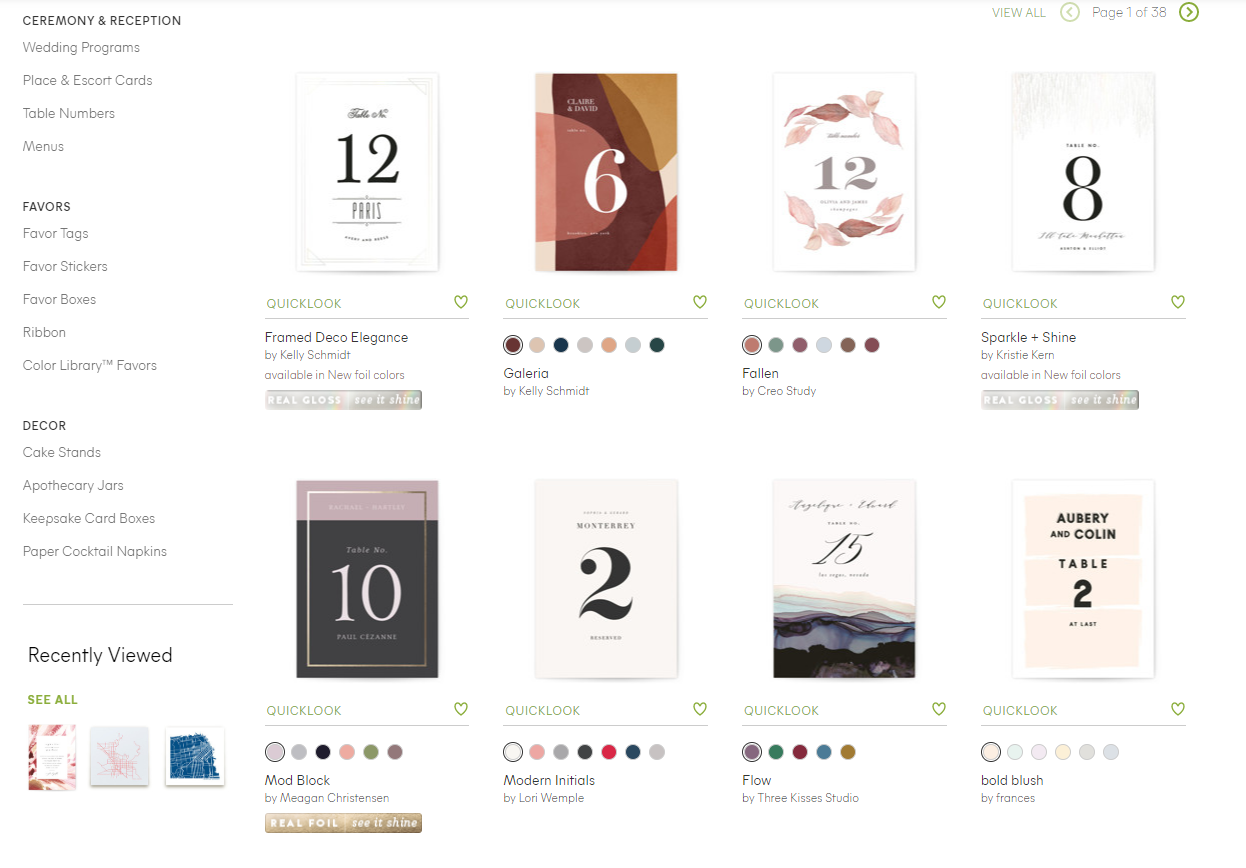
This step is easy: simply place your order! It’ll be a great feeling getting that checked off your list as well! And if you decide later on that you need more paper goods like menus, place cards, table numbers or programs, you can always come back!
We hope this tutorial helped you navigate through wedding invitations. It doesn’t have to be a stressful process. Make it fun with online ordering and Minted!